This guide will help you understand how to utilize these features effectively to enhance your website’s functionality and engagement.
In this video, I will guide you through the website section of Wolfpack. I'll show you how to find it, navigate through the sub-navigation menu, and explore the two main parts: forms and pages. Forms allow you to create different types of forms that can be embedded on your website, while pages are landing pages that you can customize. I'll explain how to create forms, choose form styles, and set actions for form submissions. Additionally, I'll demonstrate how to create and embed landing pages using templates. Watch this video to learn how to leverage the website section of Wolfpack and enhance your online presence.
Accessing the Website Section
To find the website section, navigate to the left-hand side of the Wolfpack dashboard and click on “Website.” If you don’t see the sub-navigation menu, click the little show navigation button next to the Wolfpack logo.
The website section is divided into two main parts:
1. Forms
2. Pages
Forms
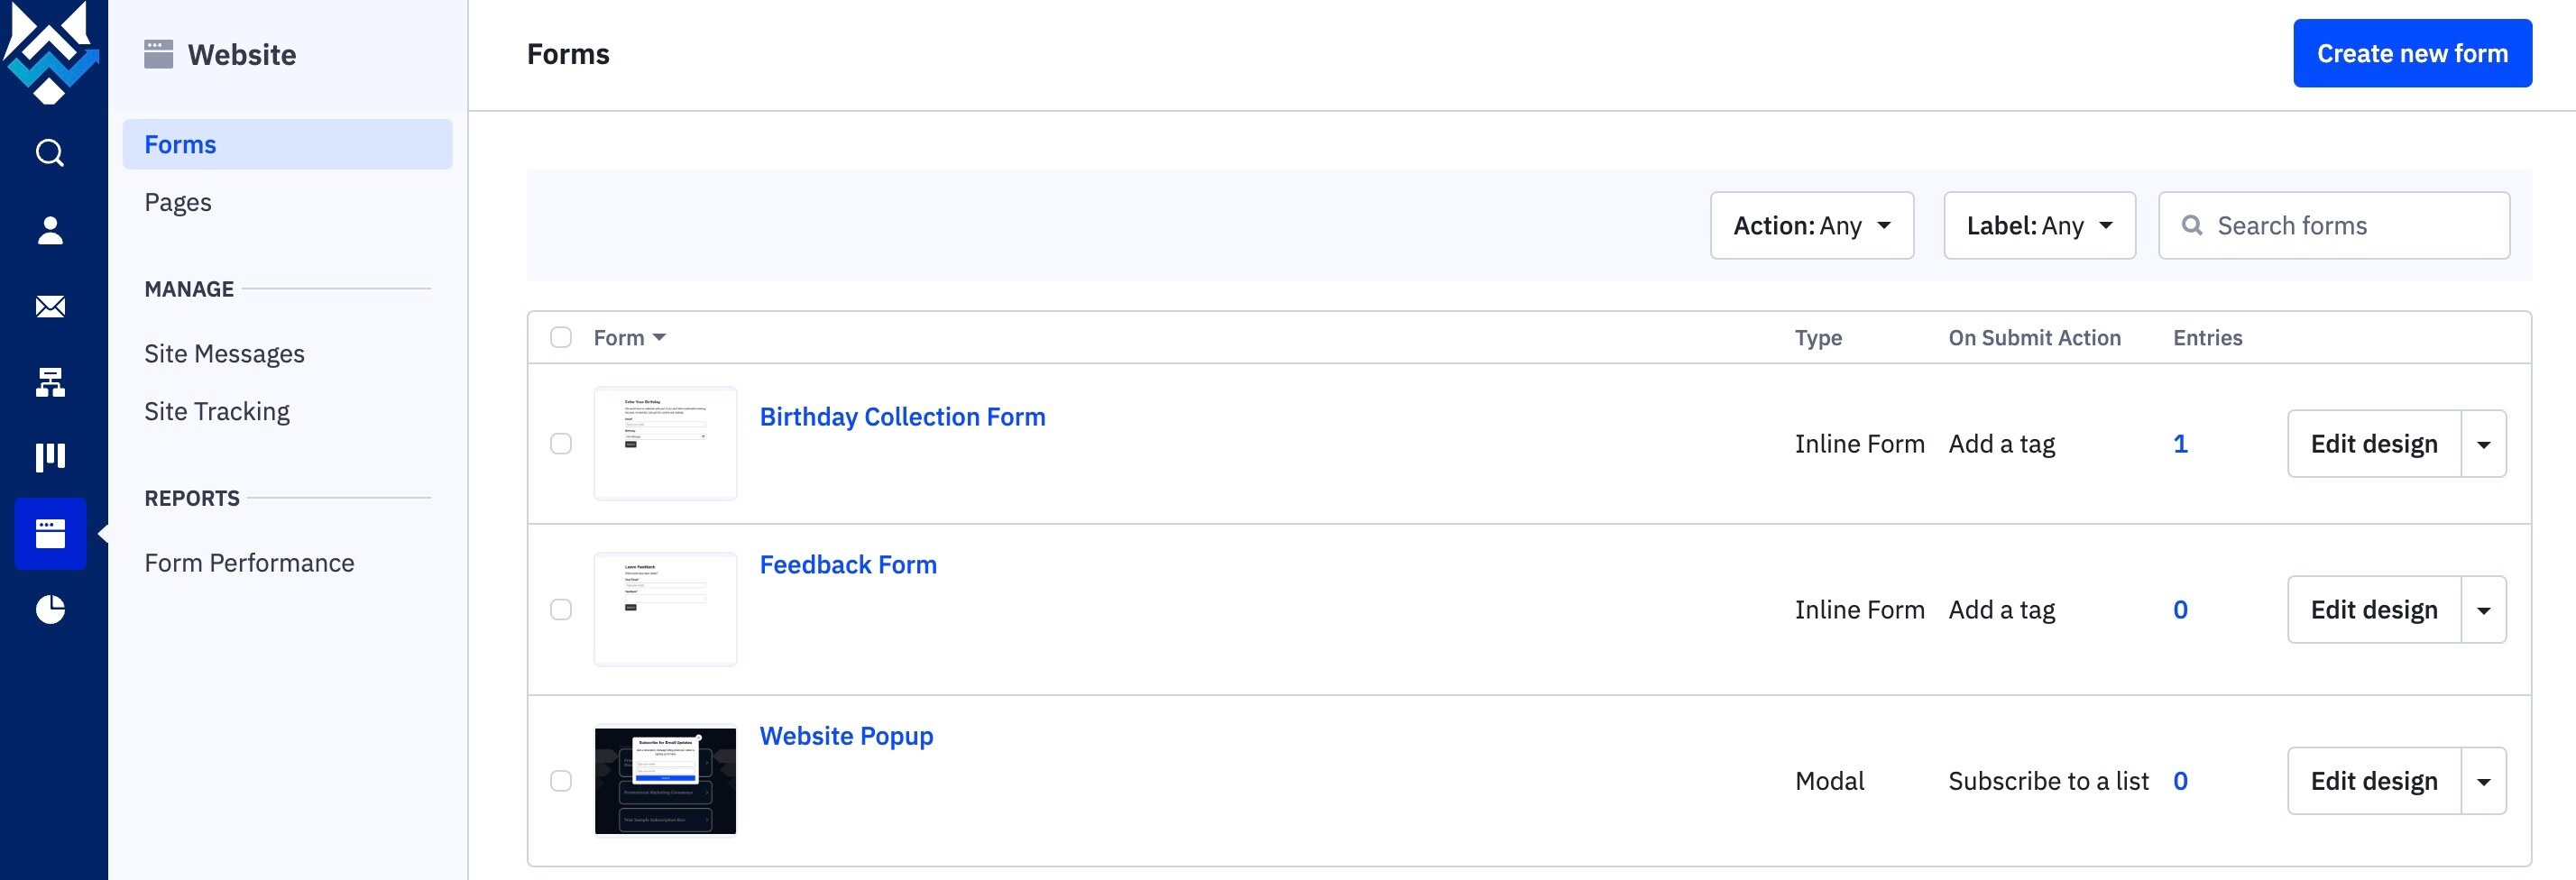
Forms are essential for gathering information from your visitors and integrating it with your CRM. You can create different types of forms, such as inline forms, floating bars, floating boxes, and modals. Here’s how you can create and customize a form:
1. Creating a New Form
-
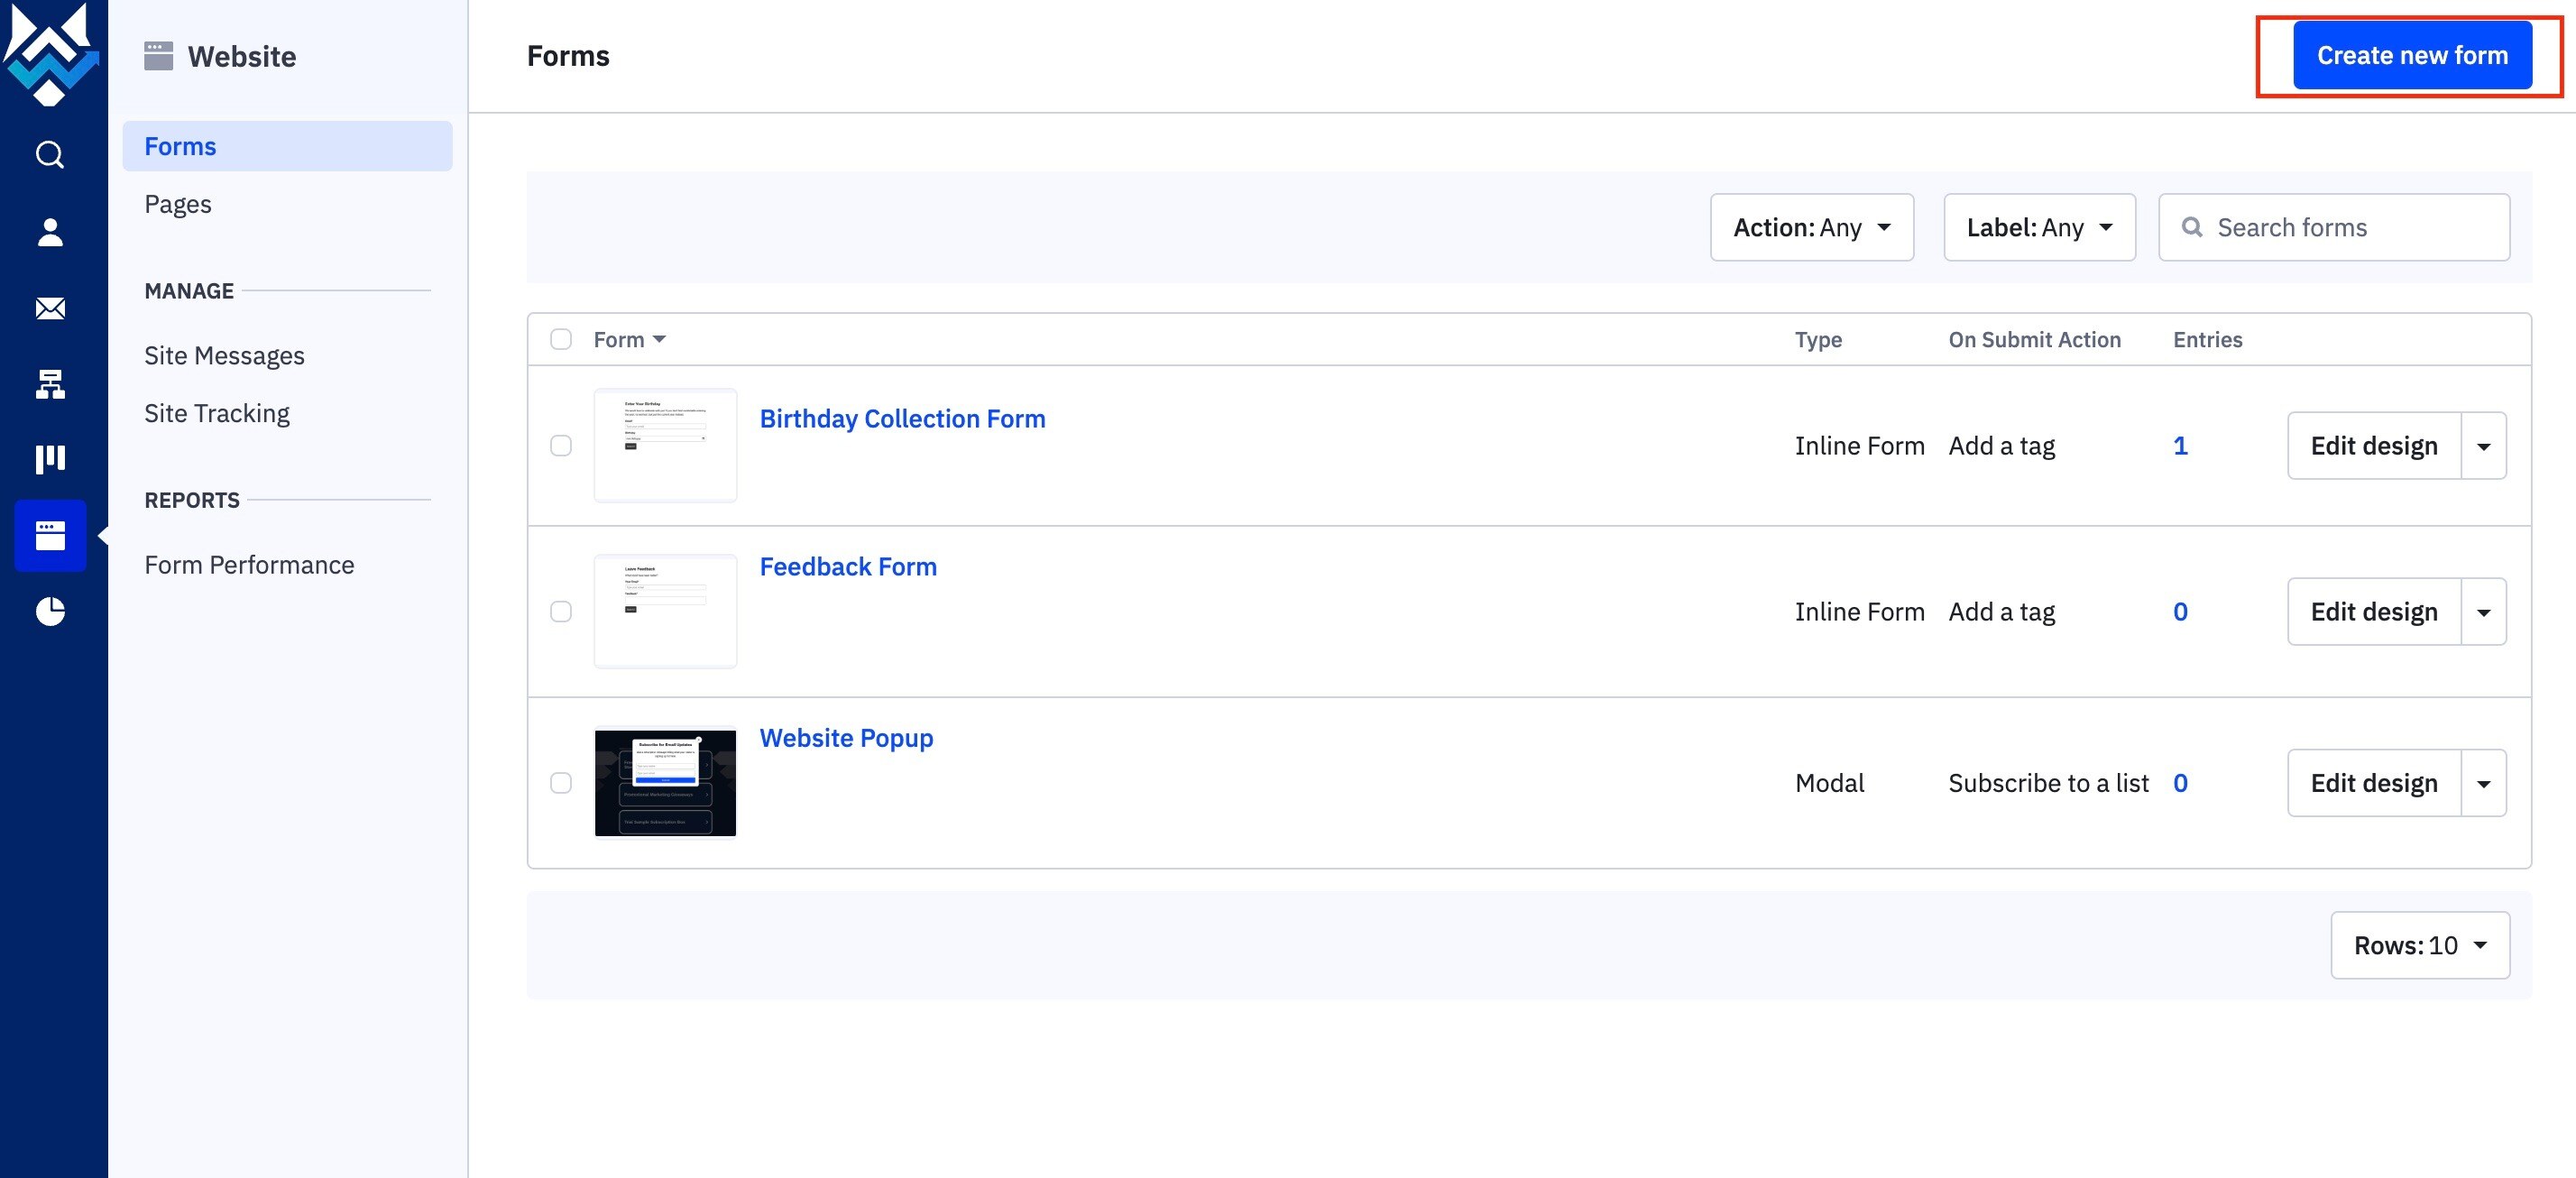
Click on “Create New Form.”
-
Give your form a name and select the form style. Inline forms are embedded on a page, while floating bars, floating boxes, and modals are pop-up forms.
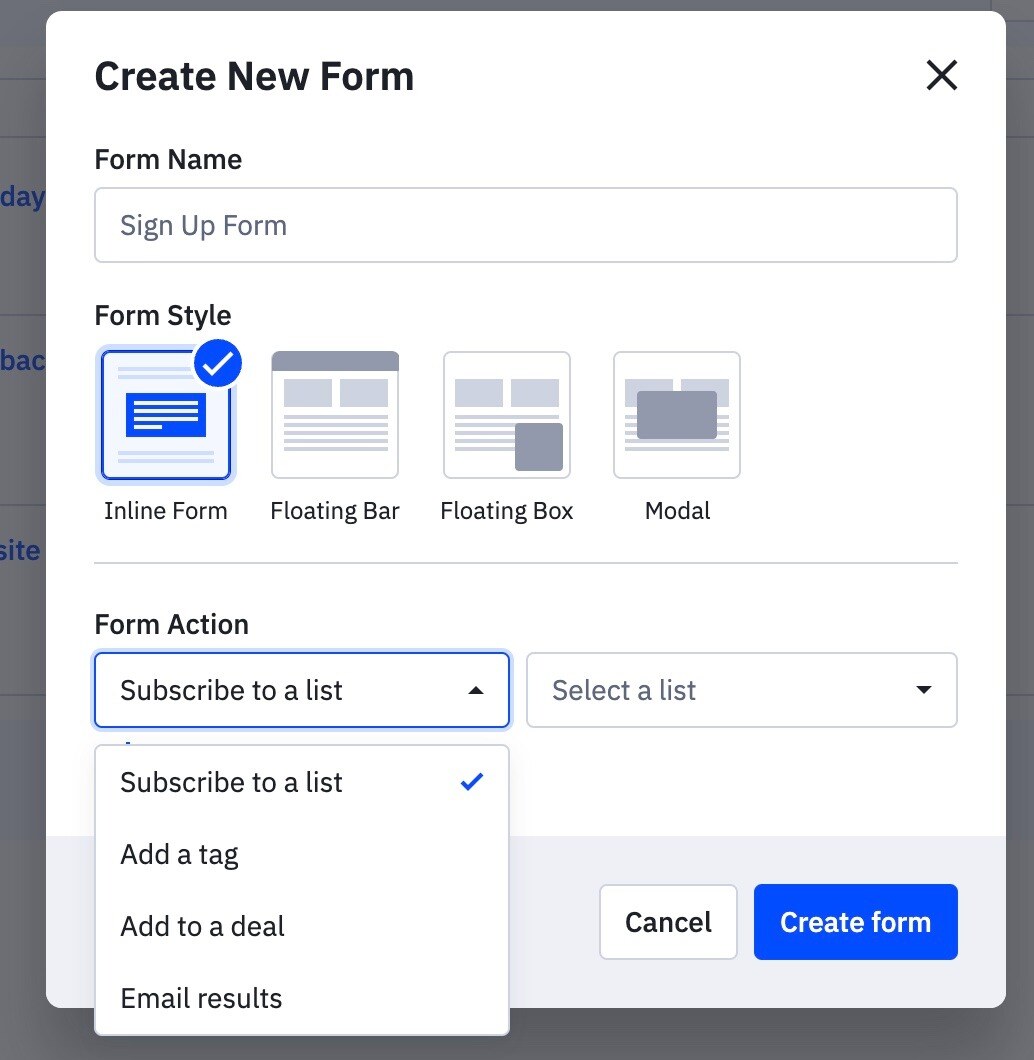
2. Setting Form Actions
-
Define actions for the form, such as adding a tag, adding a deal, emailing the results, or subscribing the user to an email list. You can select multiple actions to execute upon form submission.
-
Example: Add a tag “Buyer’s Agent Form” and subscribe the user to a newsletter.
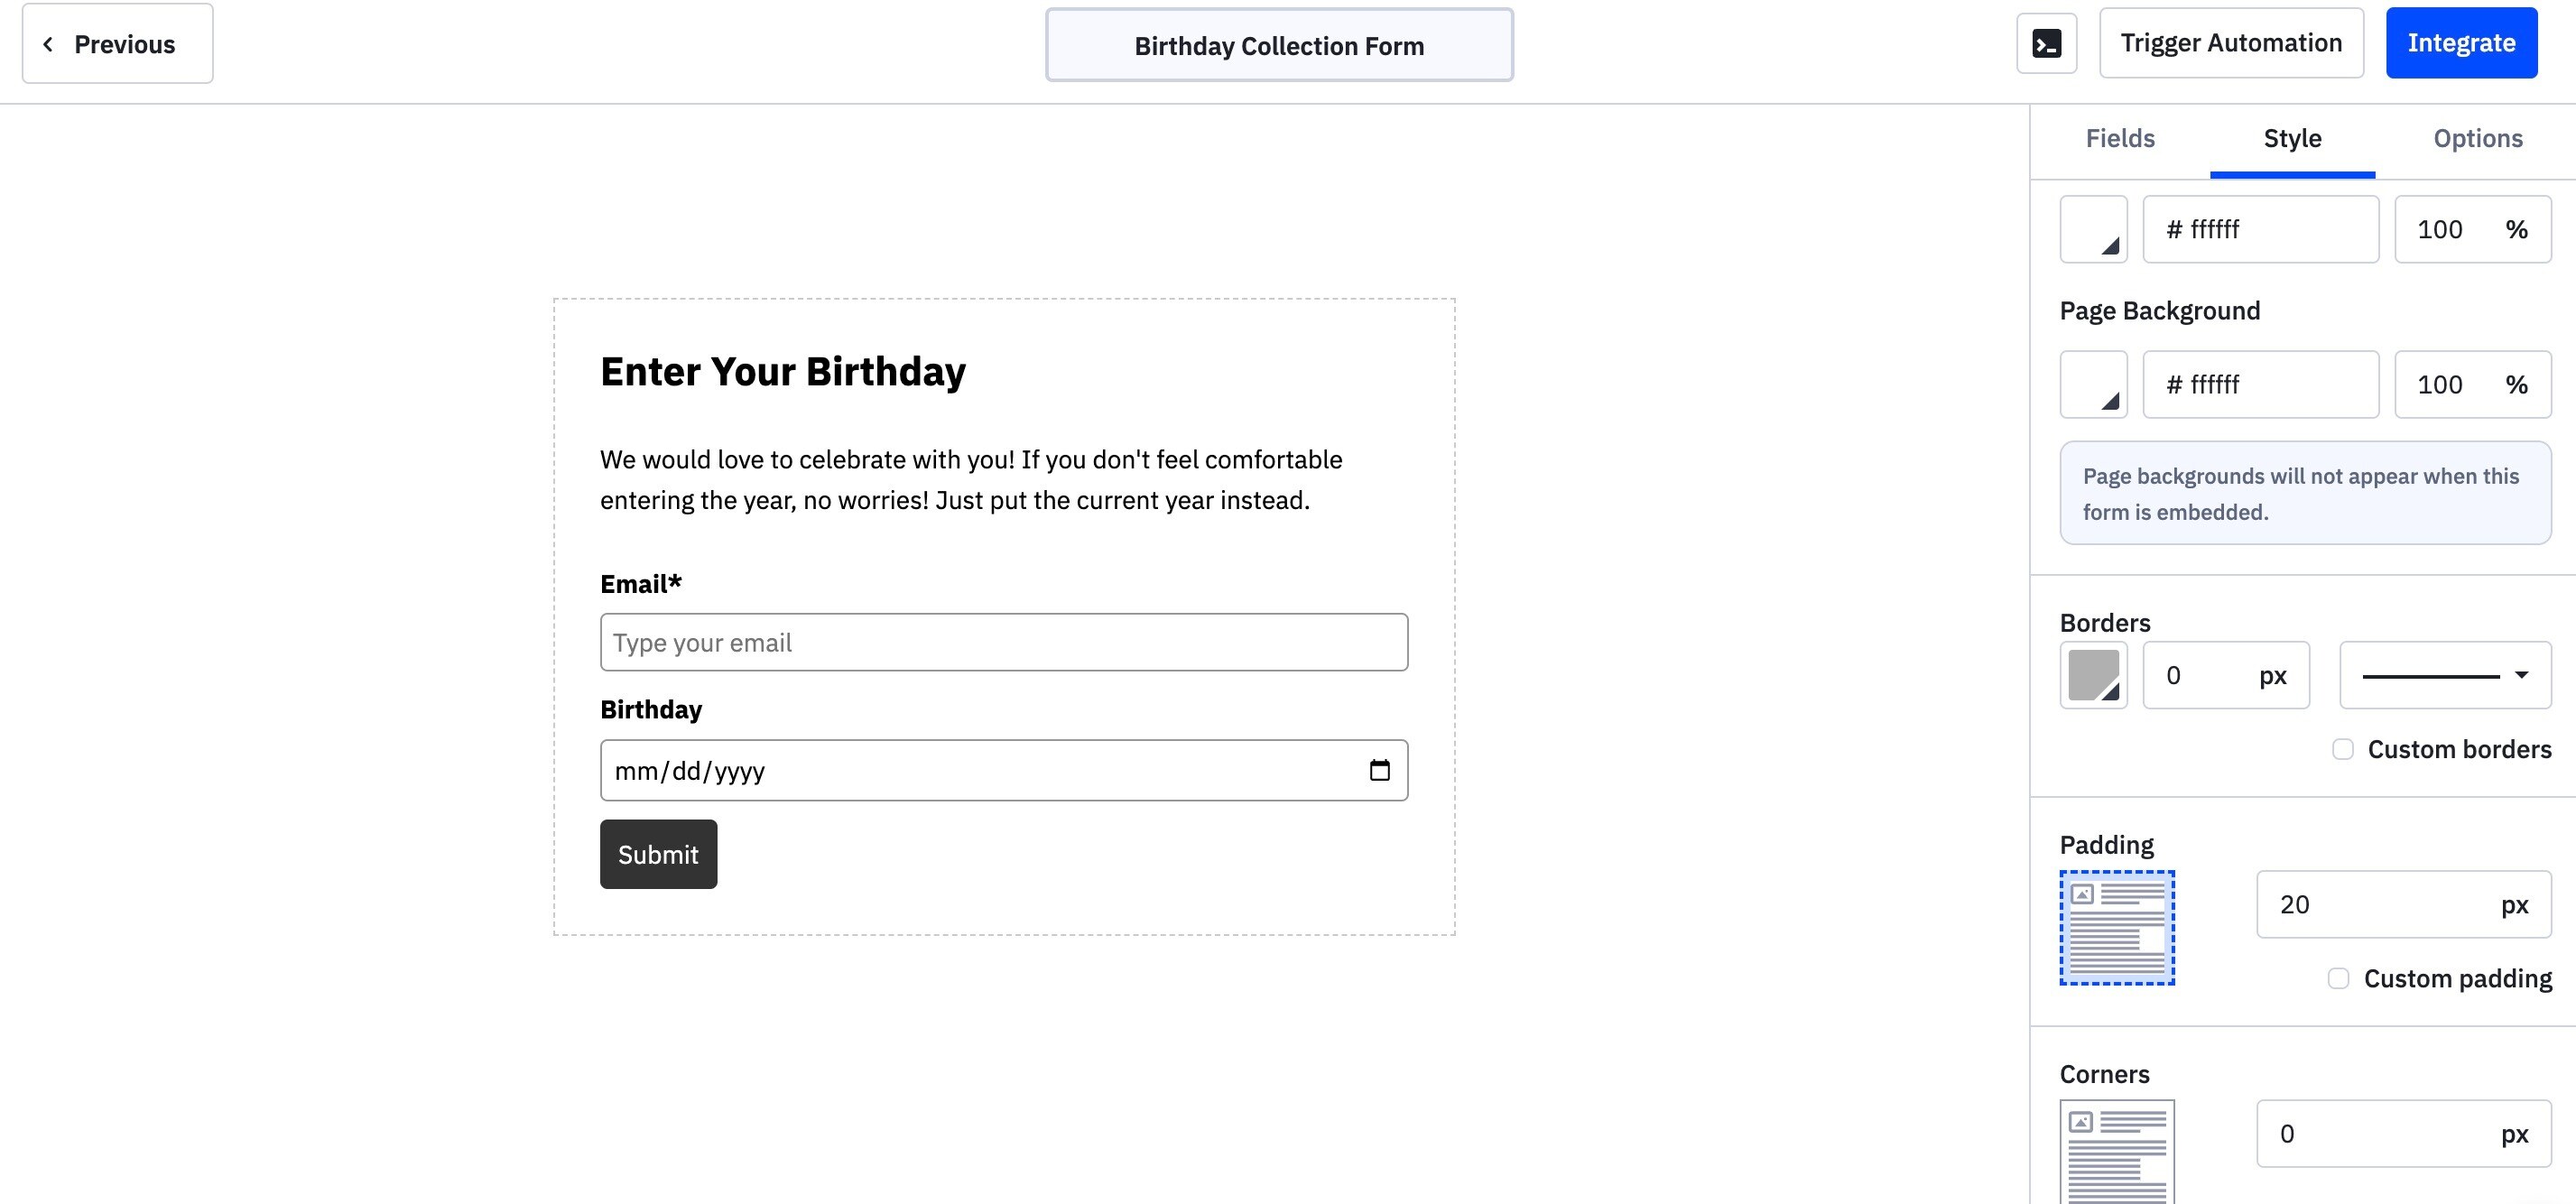
3. Designing the Form
-
Enter the text for your form fields, such as “Subscribe for email updates.”
-
Add necessary fields like full name, email (required), zip code, birthday, and feedback.
-
Customize the form’s appearance, including layout, background color, font color, border, corner radius, and button colors.
-
If needed, add custom CSS and remove AC branding.
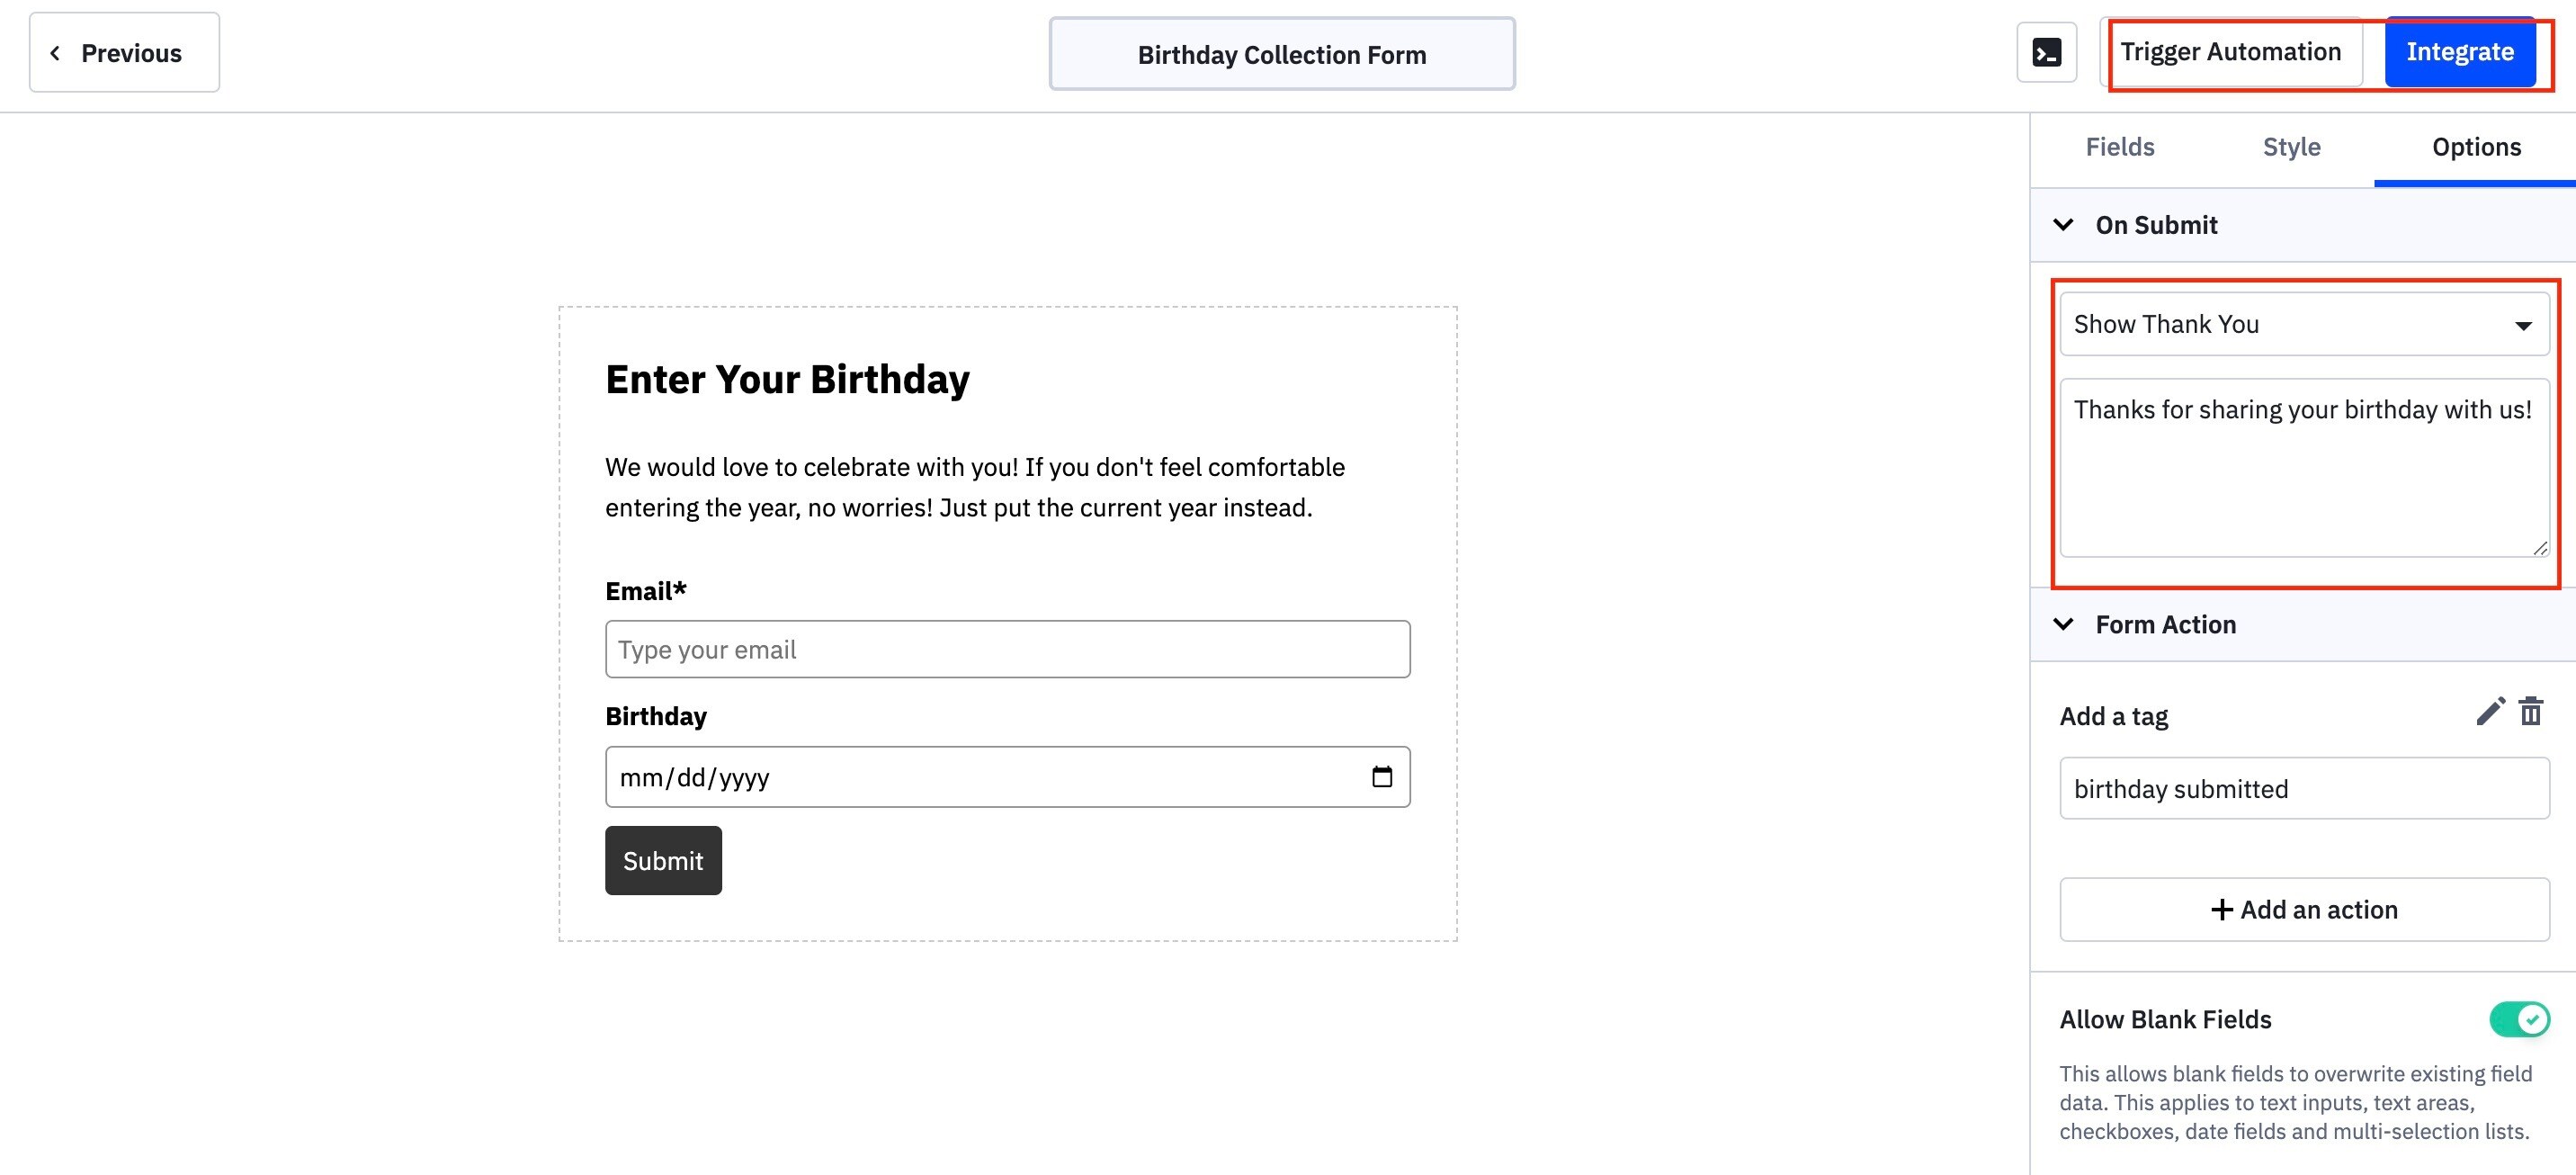
4. Form Options
-
Define what happens when the form is submitted (e.g., show a thank you message or redirect to a different URL).
-
Set up actions to trigger automation or integrate the form into various platforms.
5. Embedding the Form
-
Embed the form by copying the code, using a link, utilizing a WordPress plugin, or embedding it on Facebook.
Pages
Pages allow you to create different landing pages for your website. Here’s how you can create and manage pages:
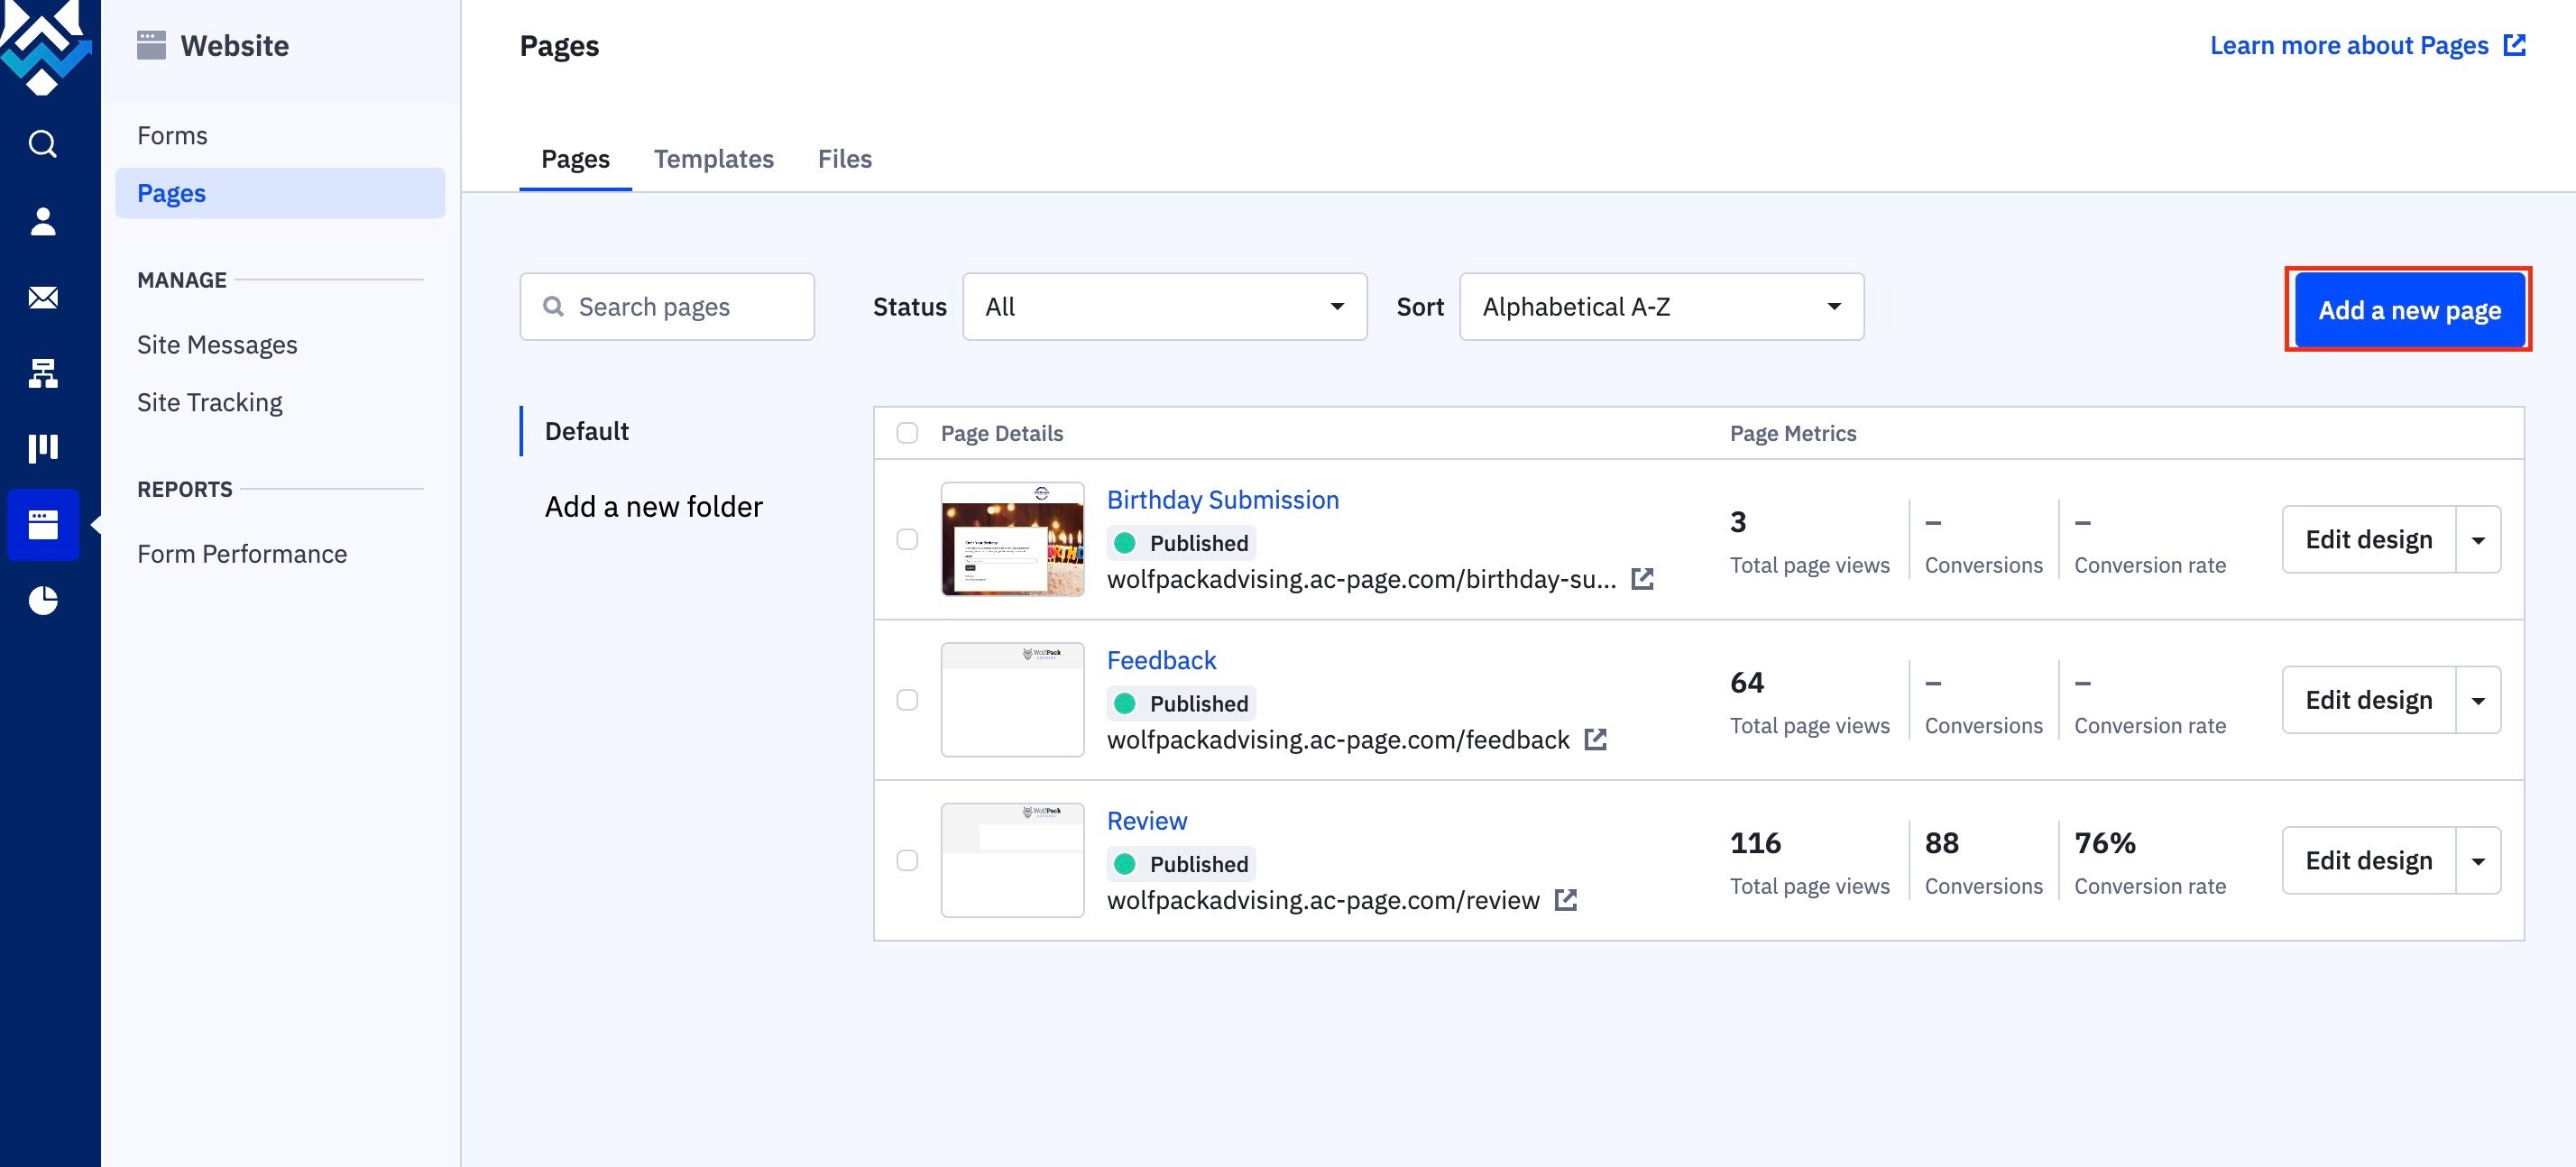
1. Creating a New Page
-
Click on “Add New Page.”
-
Choose a template from the available options or create your own.
-
Give the page a name and customize it as needed.
2. Embedding Forms on Pages
-
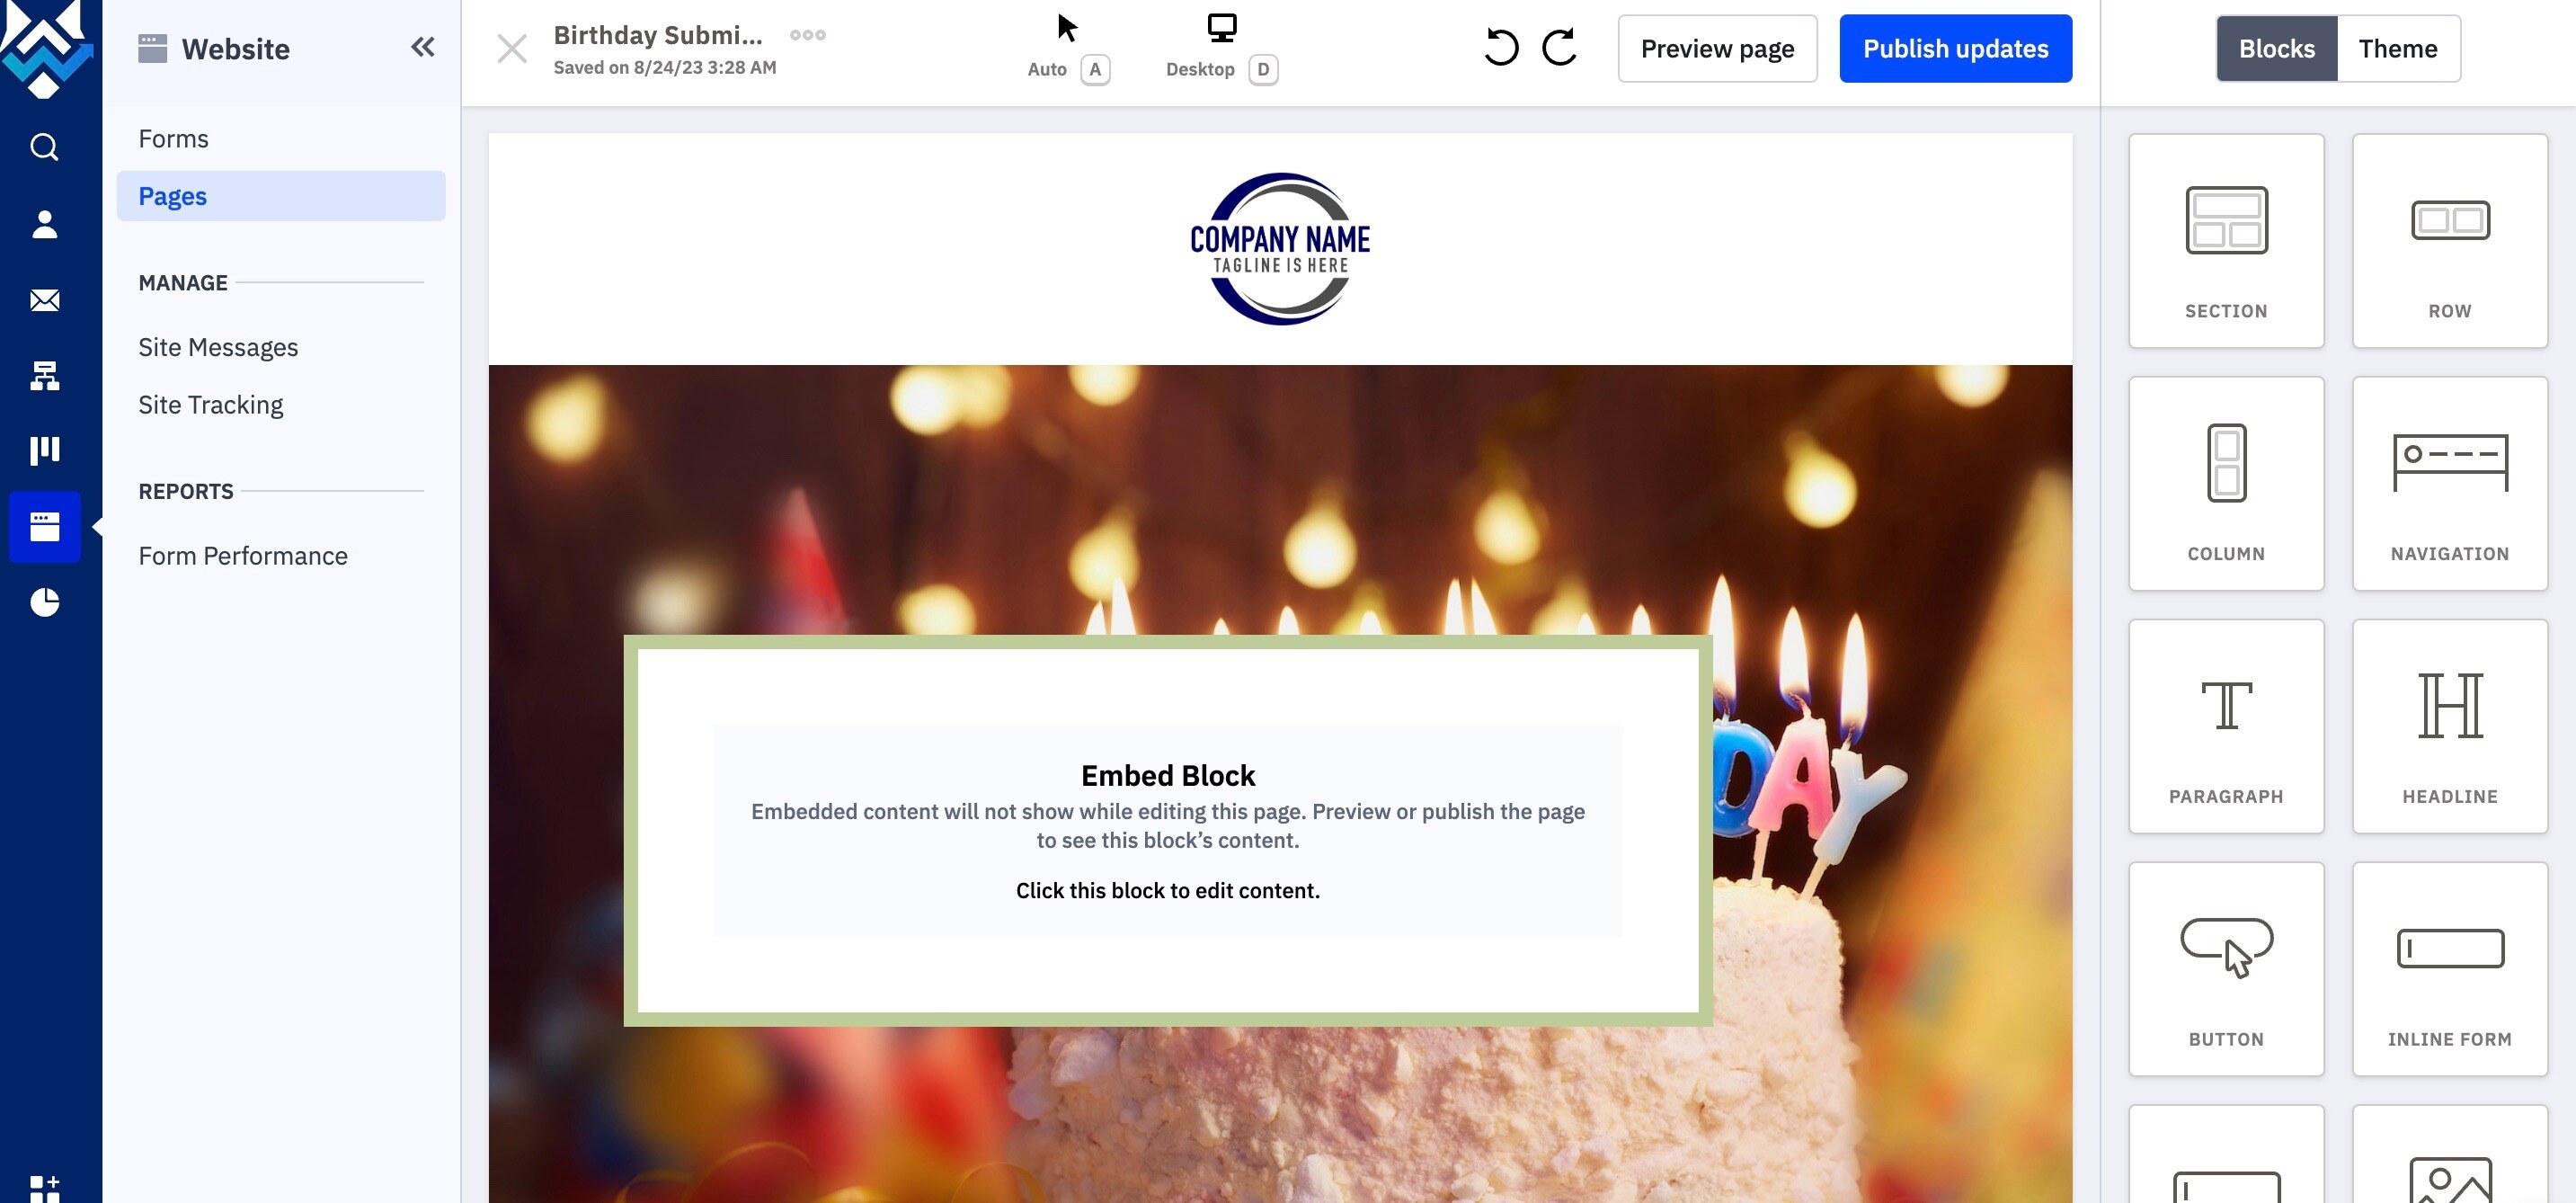
On the right-hand side of the page editor, select the inline form.
-
Drag and drop the form into the desired location on the page.
-
Publish the page and view it live.
3. Managing Pages
-
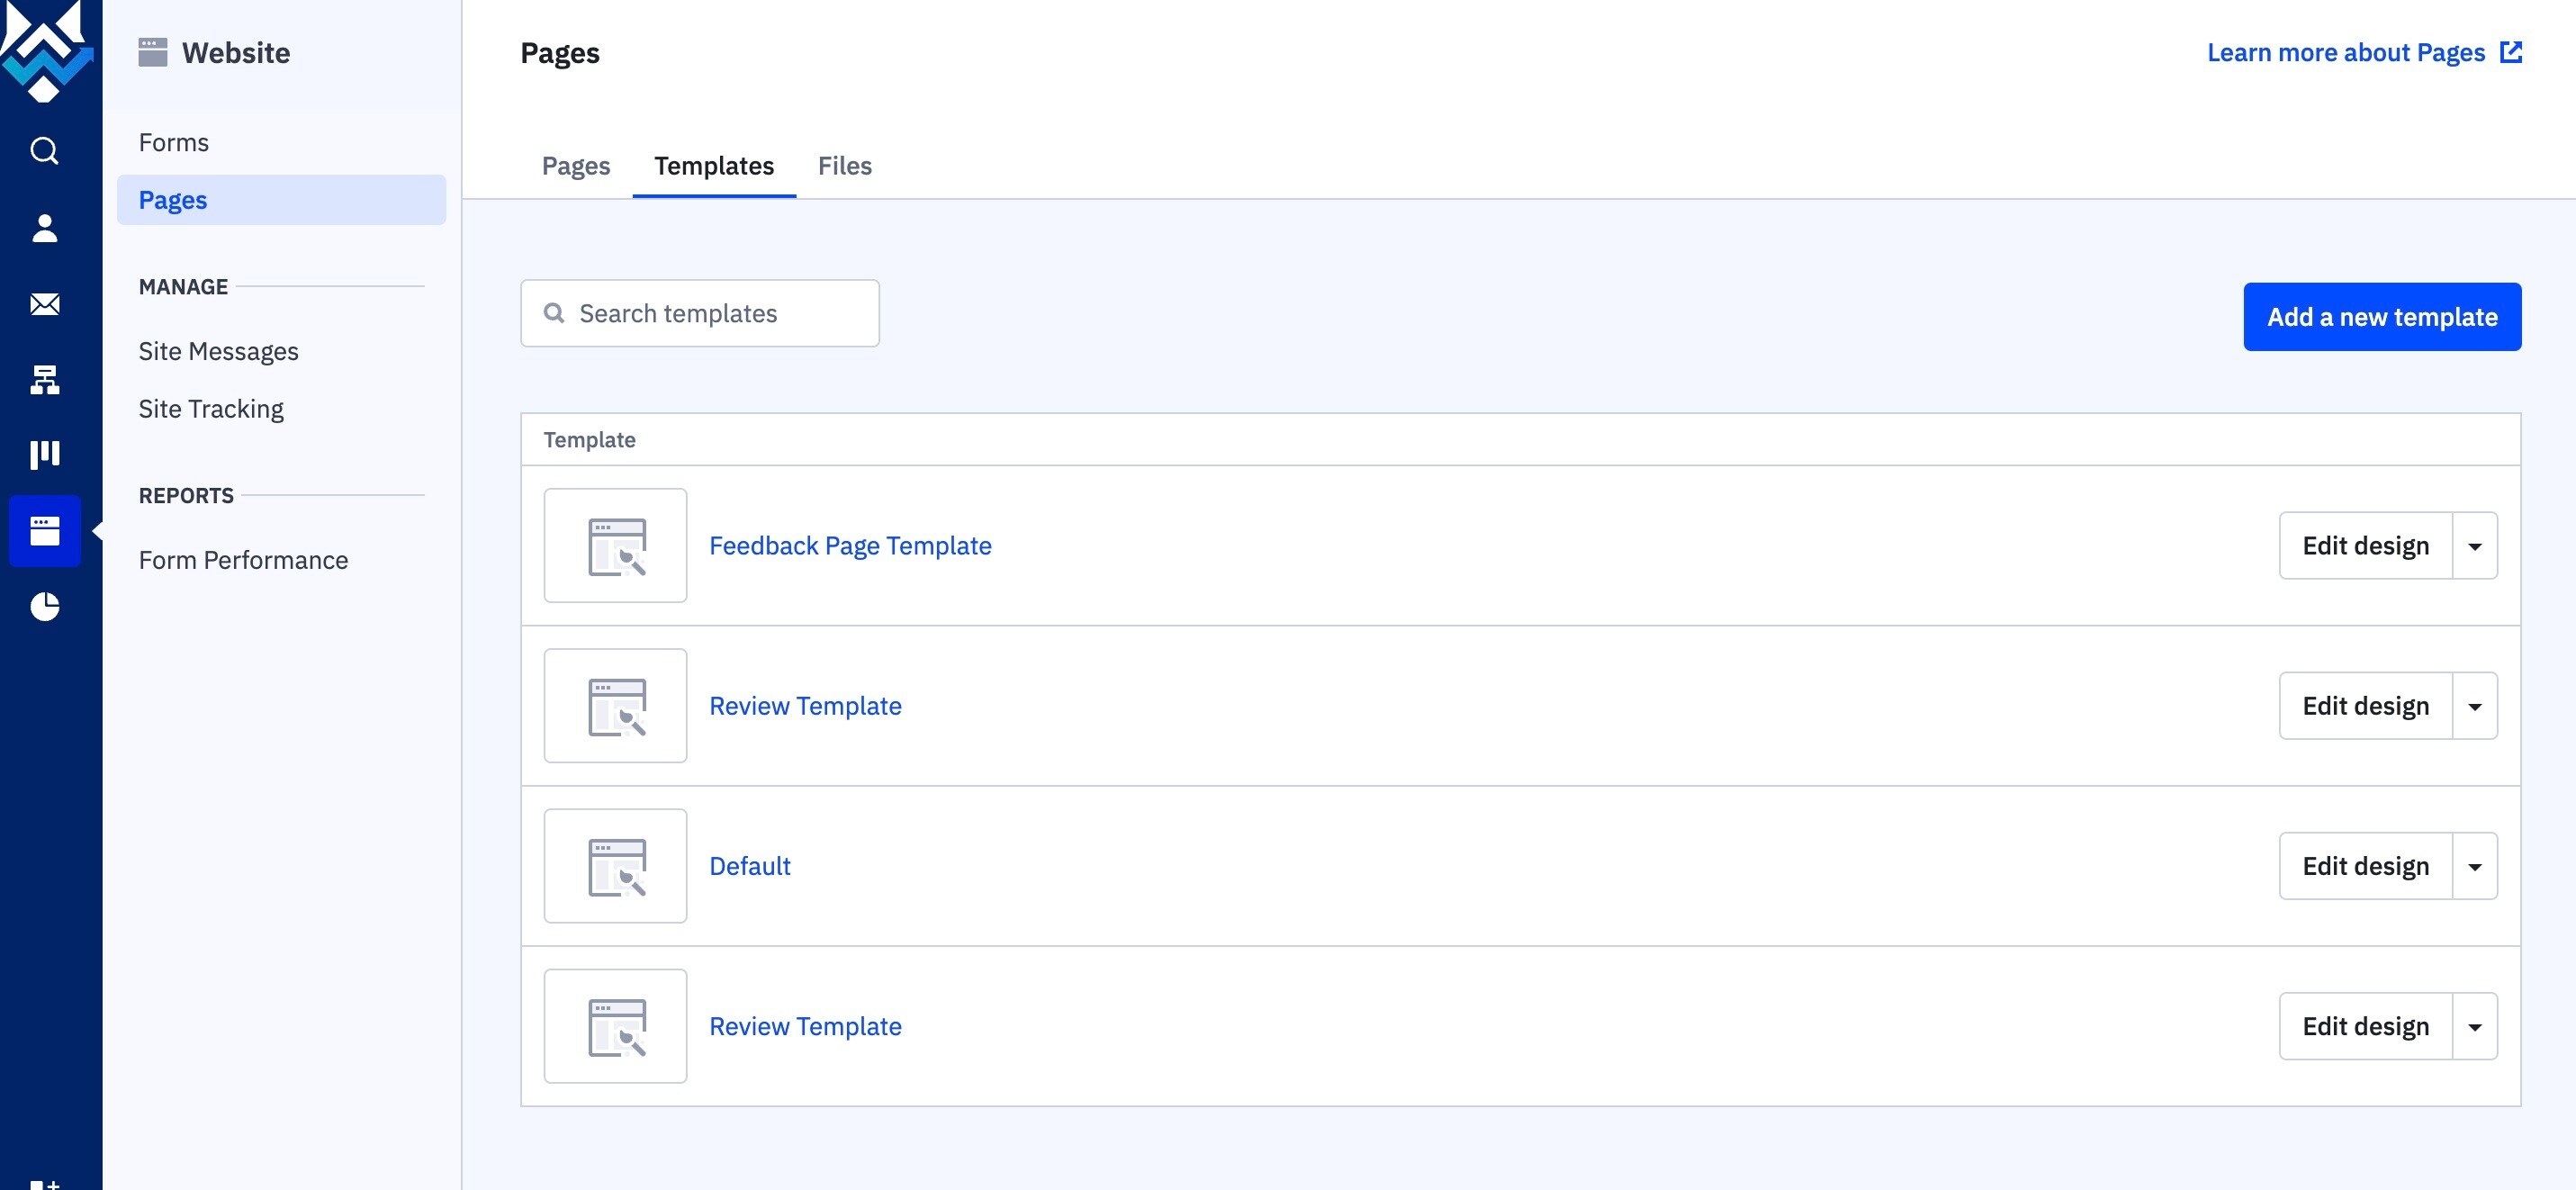
Organize your pages by adding folders for different collections.
-
View or create new templates.
-
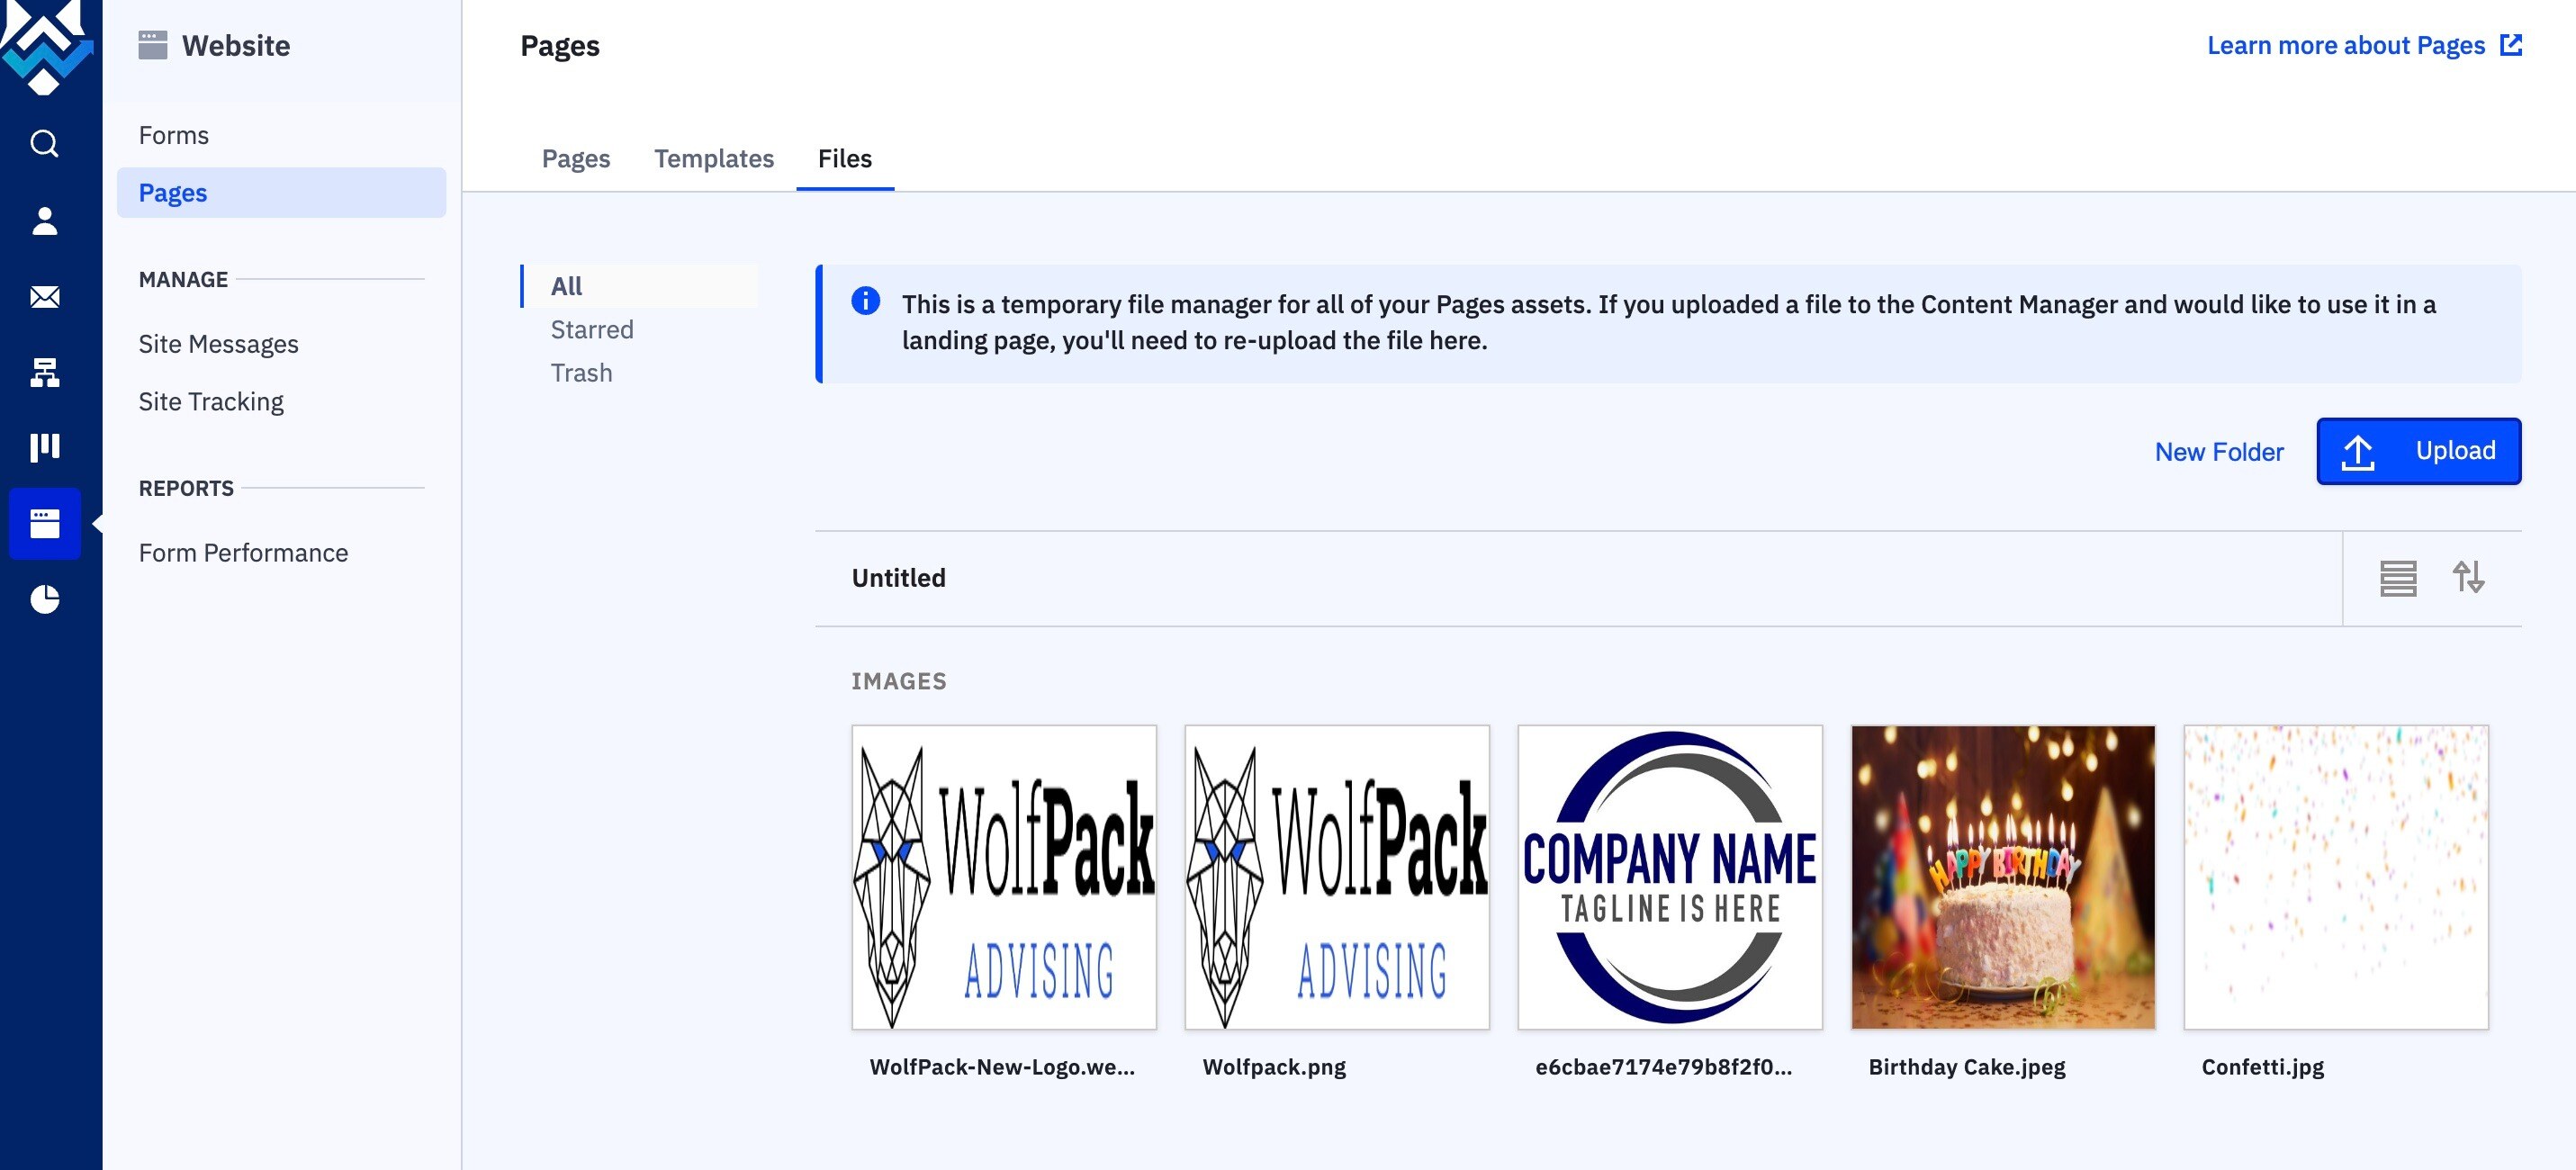
Import files, such as images, into the file section.
Additional Features
Wolfpack’s website section also includes advanced features like managing messages and site tracking. For more detailed instructions on these features, refer to the help center, Website CRM Training, or contact the support team.
